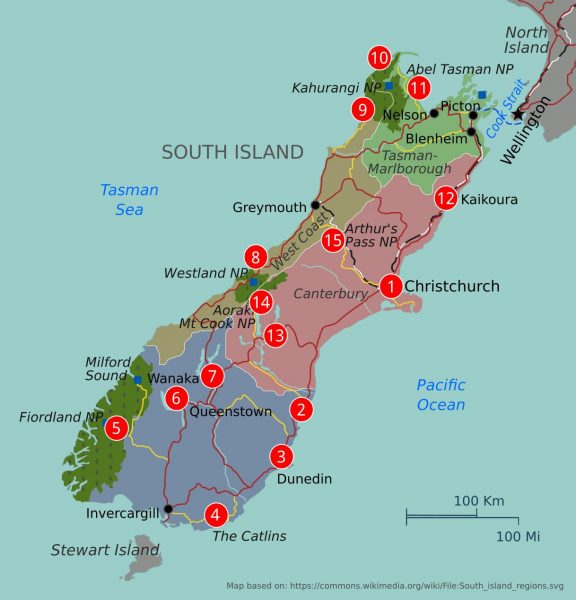
Overview
The following links lead to the individual parts of my travel report:
- East Coast and Catlins
- Milford road and Kepler Track
- Lake Wakatipu, Routeburn and Caples Tracks
- Wanaka and Mount Aspiring
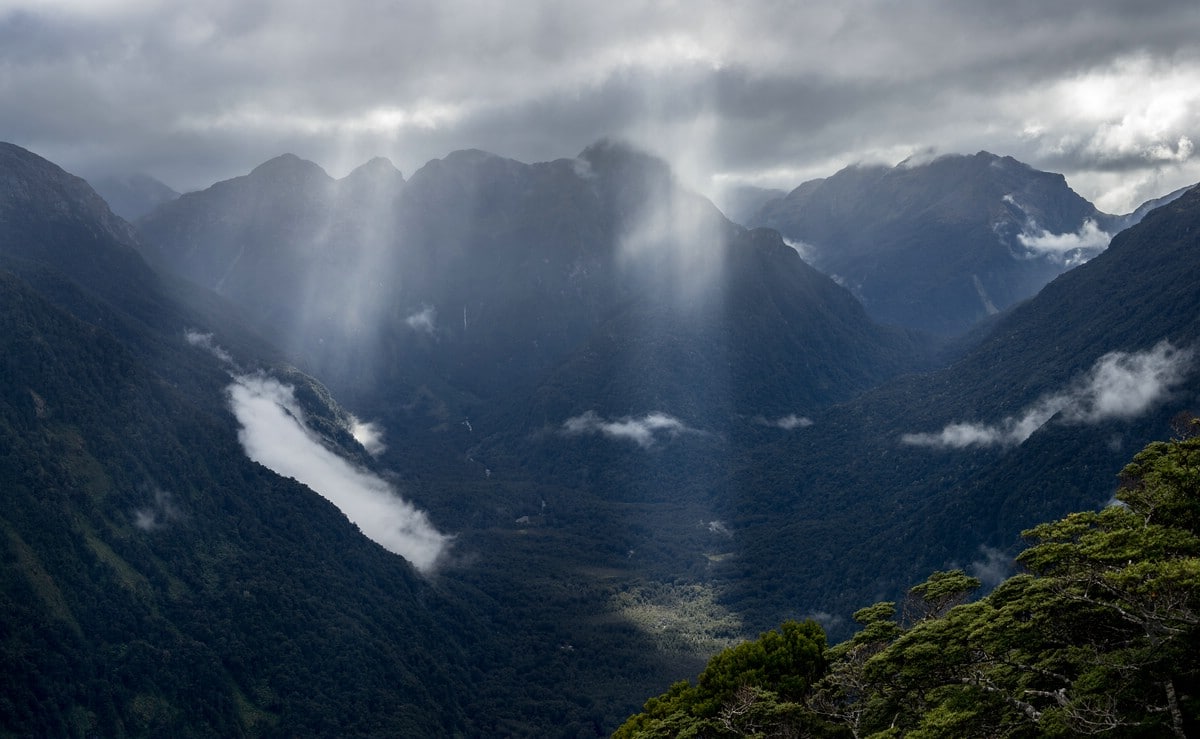
- Dusky Track: My favorite hike of the trip
- West Coast and Glaciers
- Abel Tasman, Mount Cook, Arthur’s Pass, and more
New Zealand has been on my bucket list for a long time. As it’s on the other side of the globe from where I live, a trip requires a decent amount of time to be worth it. Unfortunately, with most normal day jobs it’s difficult to get off a month or more. But luckily, due to a change in my professional career, I had the unique opportunity to devote two months to exploring new Zealand’s South Island.
My itinerary
Why only the South Island? I decided to focus on the South Island as I wanted to explore the country in-depth, do a lot of hiking and not rush from location to location. In addition, I have one more reason to return one day :-)!
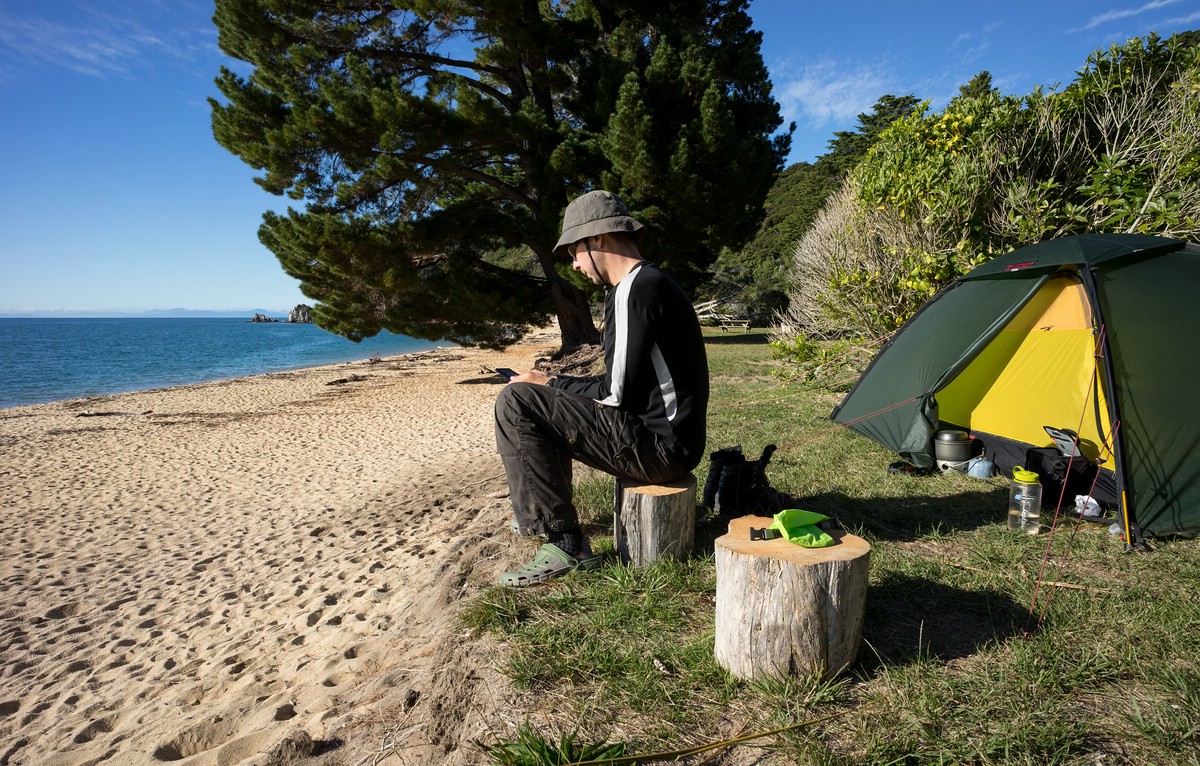
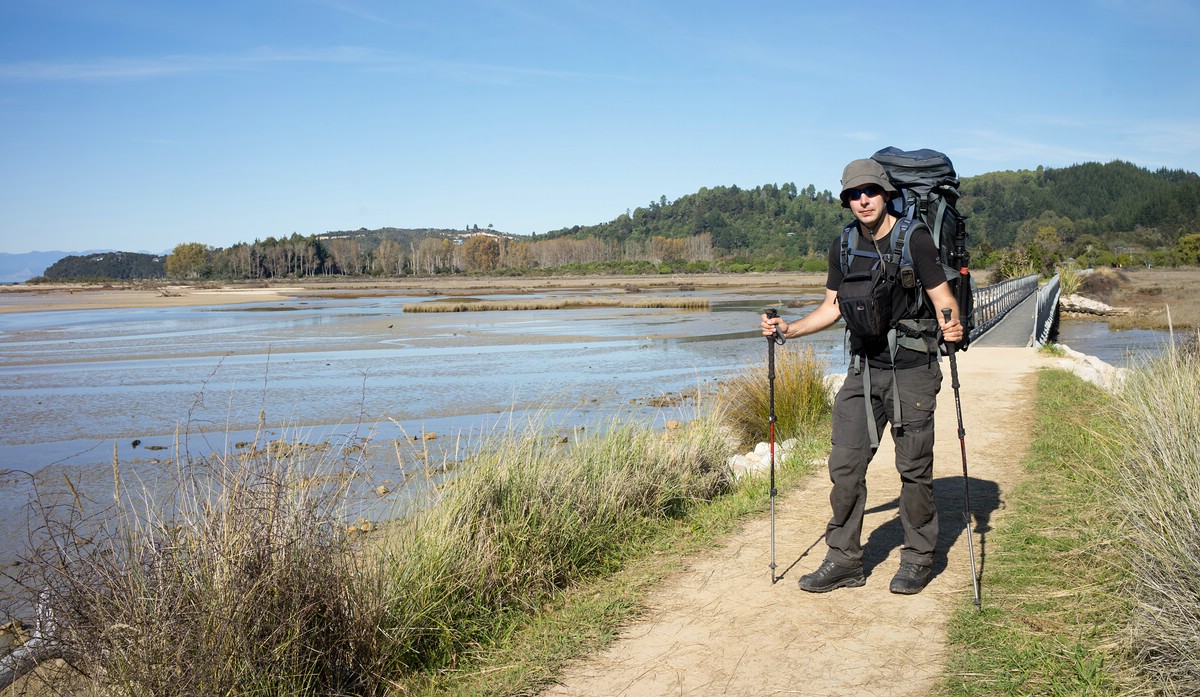
My trip involved “normal” sightseeing using a rental car to get to interesting locations and also a lot of hiking – from a few hours to several days. Of course, my main interest were the spectacular landscapes that New Zealand is famous for. Most nights I slept in my tent which kept costs down and improved flexibility a lot.
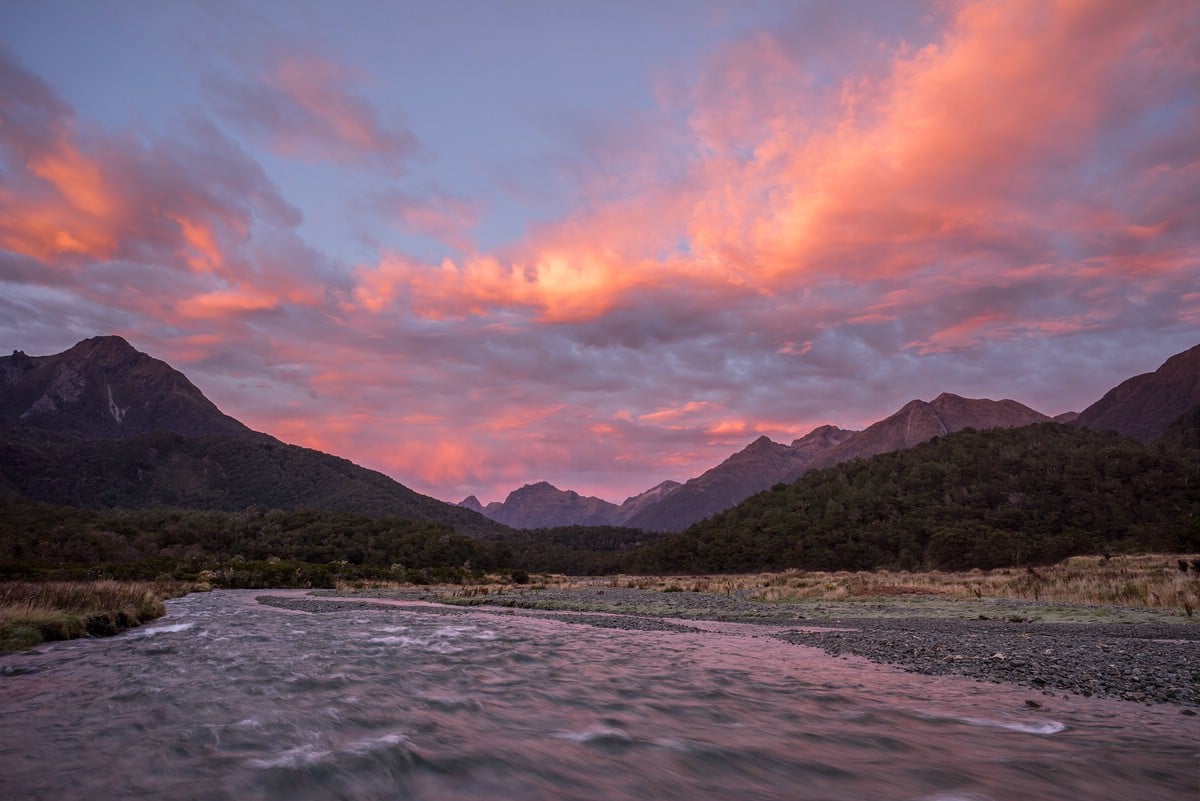
Starting in Christchurch I traveled clock-wise along the east coast and the Catlins and got to Fiordland where I spent a lot of time. Via central Otago I got to the west coast that I followed up to the north. Moving back south I explored those parts of the central South Island I had left out before (Mackenzie Country, Mount Cook area and Arthur’s Pass).
Hiking in New Zealand
New Zealand is a very popular destination for hikers – or trampers, as they are called over there. This is not only because of the amazing scenery, but also due to very accessible trails and a lot of marketing. Who has not heard of the famous Milford Track, the most popular track in New Zealand?
While I am used to backcountry hiking in Europe, especially Scandinavia, where I usually plan custom routes involving pathless sections to reach remote areas, I was new to the conditions in New Zealand and thus decided to follow existing tracks during my first visit.
Along with the popularity of New Zealand as a destination for hikers come restrictions – in particular if the so-called “Great Walks” are your destination: during the season (usually all months except late autumn and winter) you must book your accommodation in advance – also if you are camping. You are also restricted to the available campsites.
I’m not used to such limitations and thus initially was not sure whether I should put up with them or leave the Great Walks out of my itinerary. But as it was already autumn and thus late in the season, I expected them to be less crowded than usual and decided to give them a try – starting with the Kepler Track.
While I encountered a lot of people including large groups of hikers, campsites were not always full and usually less crowded than the expensive Great Walk huts.
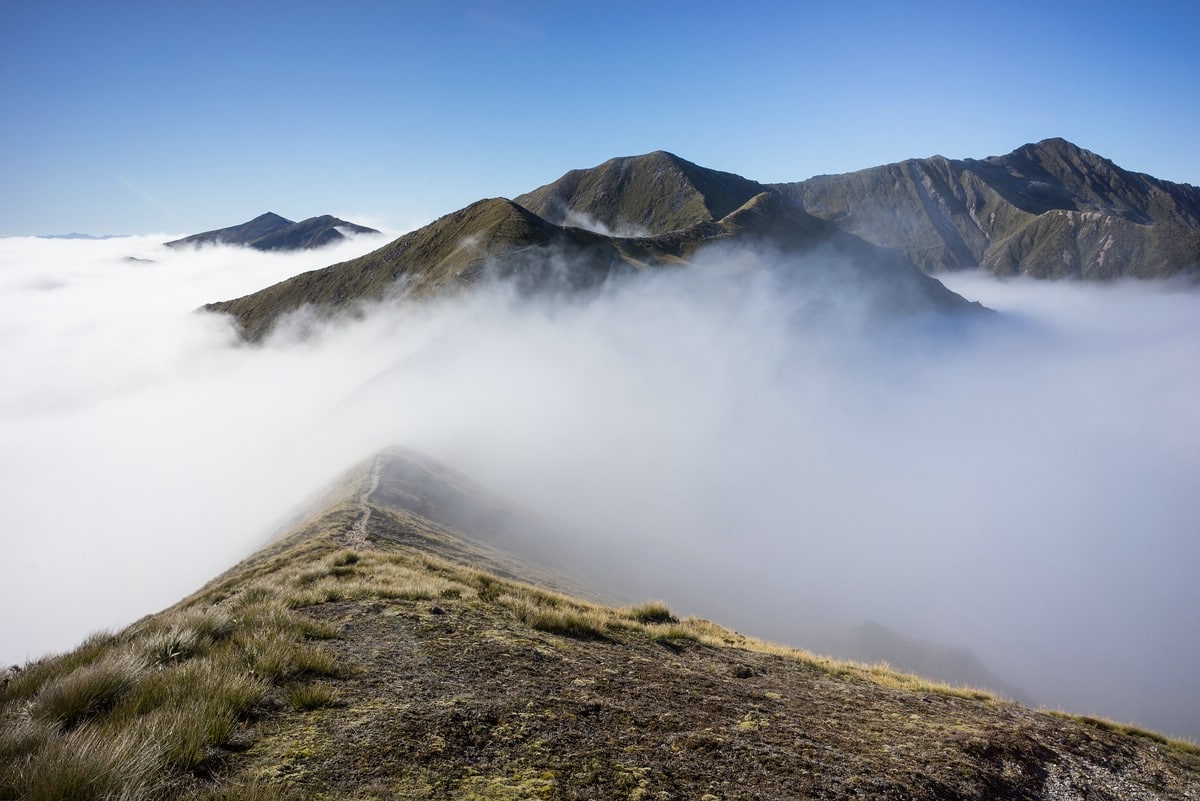
Of course, I did not only take those “highways for hikers” but also walked lesser-known tracks such as the Dusky Track in Fiordland which turned out my favorite hike of the entire trip. Thus, my advice is to not only look at the “famous” hiking routes but especially at other options in your area of interest.
Guidebooks and Resources
Travelers to New Zealand find a lot of resources online. In particular, I want to mention the website of the Department of Conservation, that contains a lot of detailed information for hikers in the different areas.
I used a printed guidebook that, however, did not turn out as useful as I expected. Later I discovered the awesome guide by Scott Cook, “NZ Frenzy South” (a version for the north island is available as well). It focuses on the most important thing: interesting sights and locations. It does not bother with hotel and restaurant recommendations which – at least for me – are not very useful. Instead also little-known but great locations are described in detail.
Photography
As landscape photography is my passion, this was a unique opportunity. I did a lot of research with regards to photo locations and tried to pick hiking destinations with especially photogenic scenery.
Equipment-wise I decided to go for a setup consisting of a full-frame mirrorless camera, three prime lenses (21, 35 and 50 mm), a tripod and a few filters. This gear can be carried in a holster bag attached to the front of my large hiking backpack for a quick camera access.
In regions with lots of rain (e.g., Fiordland) it turned out that I often had to put my camera bag in my backpack to prevent it from getting soaked. (I have since added a holster-style waterproof camera bag to my kit and been very happy with it during a 2.5-week outing in northern Sweden.) For the first time I carried an action cam for documentary purposes.